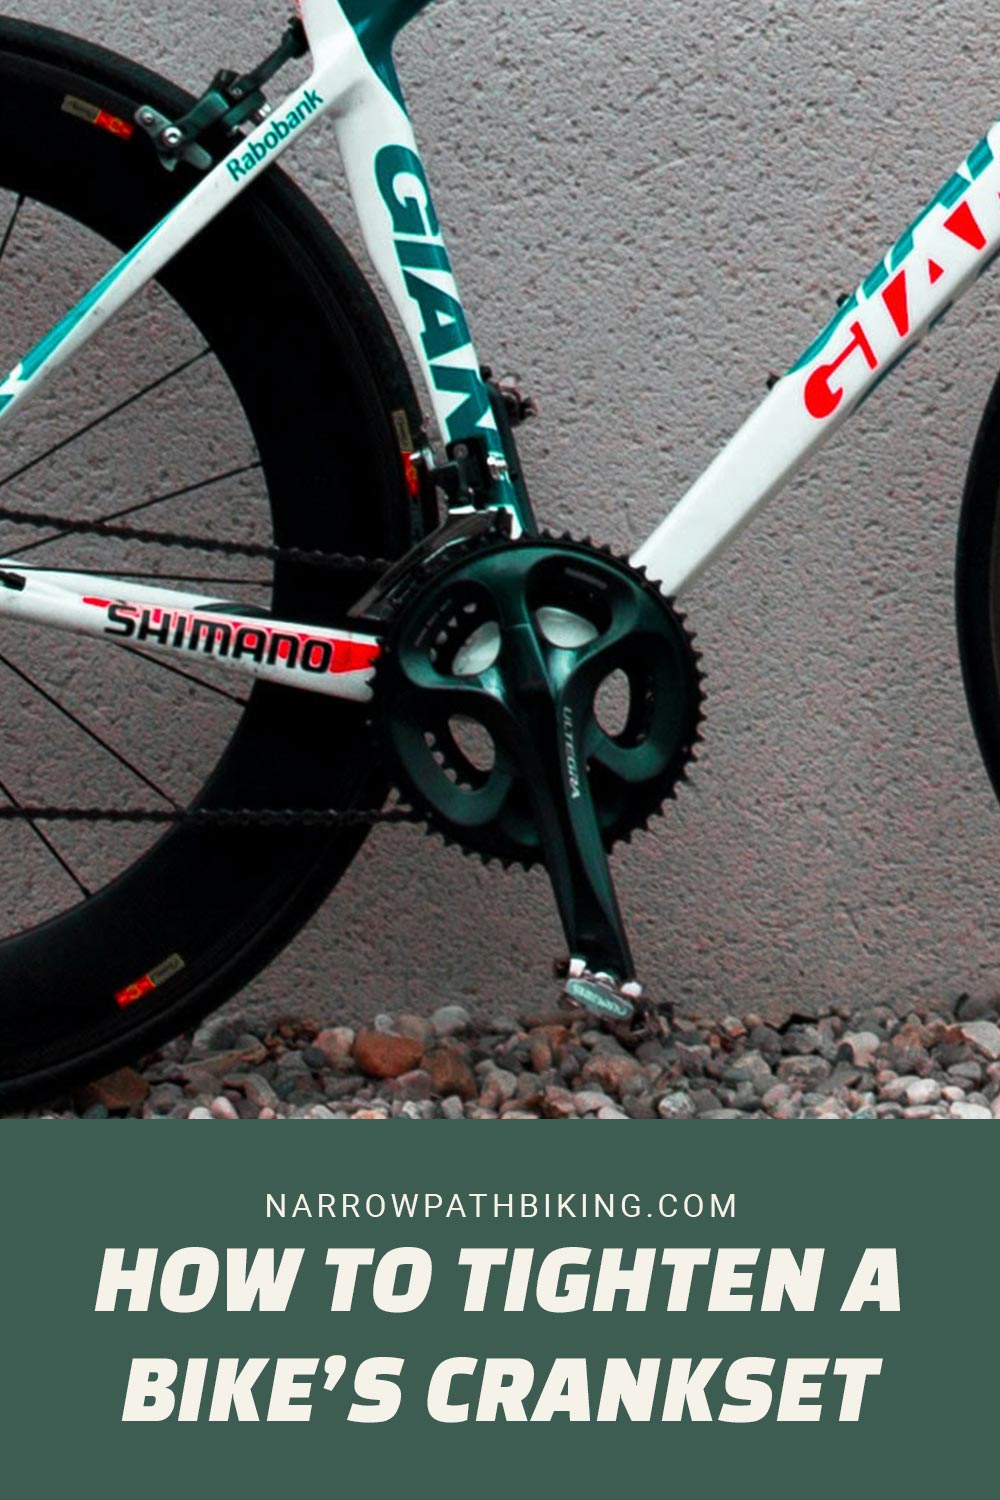
Before getting into a hobby like mountain biking, you should ensure you know how to perform minor maintenance on your bike, like tightening the bike crankset.
For example, if you apply pressure to the cranks and feel play or wobbling, the cranks need to be tightened. In order to tighten the cranks, you will need to remove the lock nut and the washer and tighten the cone to remove the play from your cranks.
Once you know what to do, tightening the crankset is a relatively straightforward process, and you should be able to handle it on your own.
What Tools Do You Need?
You do not need many tools to tighten your bike crankset. Once you have identified that your crankset needs to be tightened, you will need only two tools to help you tighten your crankset.
You will need a flathead screwdriver and a 32 mm spanner or flat wrench. These two tools will help you tighten your crankset. You will use the spanner to remove the locknut, and you will use the flathead screwdriver to tighten the cone.
After you have tightened the cone and replaced the washer and locknut, you will also use the screwdriver to hold the cone in place while you use the spanner to tighten the locknut to keep the cone in place.
What Do You Need to Know Before You Start?
You should know a few things before you begin tightening your bike crankset. You should first be aware that the locknut keeping the cone in place is reverse threaded. This means that loosening and tightening the locknut will be the opposite.
You should also know that it is possible to over-tighten your crankset. Make sure when you are tightening the bike crankset that you don’t tighten it too much, or you will risk causing further damage to your bike.
It is fairly simple to make sure your crankset is tightened. Just ensure you are careful with the treads and don’t over-tighten.
How Long Should it Take?
Tightening your bike crankset should not be a lengthy process. Once you have removed the locknut with a spanner, removed the washer, and used a flat head screwdriver to tighten the cone, your job is about to complete.
All that is left to do from there is replace the washer and locknut and use the spanner to tighten the locknut while holding the cone in place with your screwdriver. The entire process should take you no longer than a couple of minutes.
How Tight Should a Bike Crankset Be?
You will want to make sure that your bike crankset isn’t too tight. If you over-tighten the crankset, you could cause binding, which could lead to damage and a deformed crank arm.
You need to tighten the crankset enough so there is no more play or wobbling, but be careful not to over-tighten.
Common Mistakes You Should Avoid
There is a wrong way to do everything, so it is important that you know what you are doing when you are servicing your own bike.
You do not want to perform maintenance on your mountain bike improperly and cause damage that could have been prevented had you known what to do. Here are some common mistakes you should take care to avoid when tightening your bike crankset.
- Over tightening the crankset
- Under tightening the crankset
- Turning the lock nut in the wrong direction
- Ignoring the play for too long so that the crank wobbles
Final Thoughts on Tightening Bike Set
Tightening your bike crankset is a quick and simple process. Once you have determined that your crankset has too much play or is wobbling, you will need to make sure you have a 32 mm spanner wrench and a flat head screwdriver.
Next, you can remove the locknut and washer, tighten the cone and replace the washer and locknut. You need to make sure that you aren’t overtightening the crankset to avoid deforming the crank arm.
Overall you should be able to handle this maintenance on your own and get yourself back to the trail.

