When you’re out on the trail, the crank arms and pedals are one of the components of your mountain bike that takes the most wear and tear.
That is why so many deal with having to tighten the pedal crank regularly. But you don’t have to worry because tightening the pedal crank on your bike is quite simple.
There are multiple ways to fix other pedals, including installing a new crank arm or simple upkeep and maintenance. No matter how good you are, though with maintaining the maintenance and upkeep, there may come a time when you have to set your crank arm.
That’s why we decided to take a deep dive into how to tighten your pedal crank so that you can have the most comfortable and safest ride possible. If you struggle with this problem like most of us, just keep reading, and we will cover everything you need to know.
Which Tools Do You Need?
There are two types of pedal cranks that you will have to deal with; they’re either cotter or cotterless. But no matter what style you’re using, some tools have to be on hand to ensure tightening your pedal crank is as effective as it possibly can be.
Here’s a list of things you may need:
- Flathead screwdriver
- Allen key set
- adjustable wrench
- drive pin punch
- hammer
- blocking fires
- axle grease
- metal file
Depending on whether you’re dealing with a cotter or a cotterless crank, you may also need things like a power drill, propane courage, or a replacement cotter bolt.
How Tight Should Pedal Cranks be?
When it comes to how tight your pedal crank should be, the answer is they need to be super tight. But, of course, that number depends on the bike. One thing is for sure the pedal cranks need to be tight enough for the pedal to stay on the bike.
The last thing you want is your pedals to be super loose when you’re dealing with those varying terrains on the trail. If you were struggling with your pedal crank always coming loose, then it could be time to replace it, As perhaps the threading has been destroyed.
How to Tell if Your Pedal Crank is Too Tight?
Like with everything in life, true little or something is bad, and too much is bad. When it comes to the pedal cranks, you want them to be tightened just right. Too loose can cause problems, but too tight can make things much more difficult.
The best way to tell if your pedal crank is too tight is to notice the way it moves. Does it spin freely or offer way too much resistance when you’re actually on it? These are two ways you can tell you’ve tightened your pedal crank too much.
Are All Pedal Cranks the Same?
Nothing on the bike is ever always the same period. Of course, some models will have comparable pedal cranks, but they vary in size. This goes for the crank arms as well. Not just size, but they are designed with specific threads as well.
This means that when you’re searching for replacements for your bike, you need to make sure that you match your bike’s needs with the parameters and metrics of the pedal cranks you’re looking to replace.
If not, you’re going to find they don’t fit properly, which could lead to potential injuries on the trails.
Can You Ruin Your Bike if You Don’t Do it Right?
The answer is you won’t necessarily ruin your bike unless it leads to some sort of crash, but it can cause you to have to expend extra money on repairs.
So this is why making sure that your pedal cranks or tightens properly, so they don’t destroy the threads and endanger your ride, is so important. Here’s a quick look at the steps necessary to tighten your pedal crank:
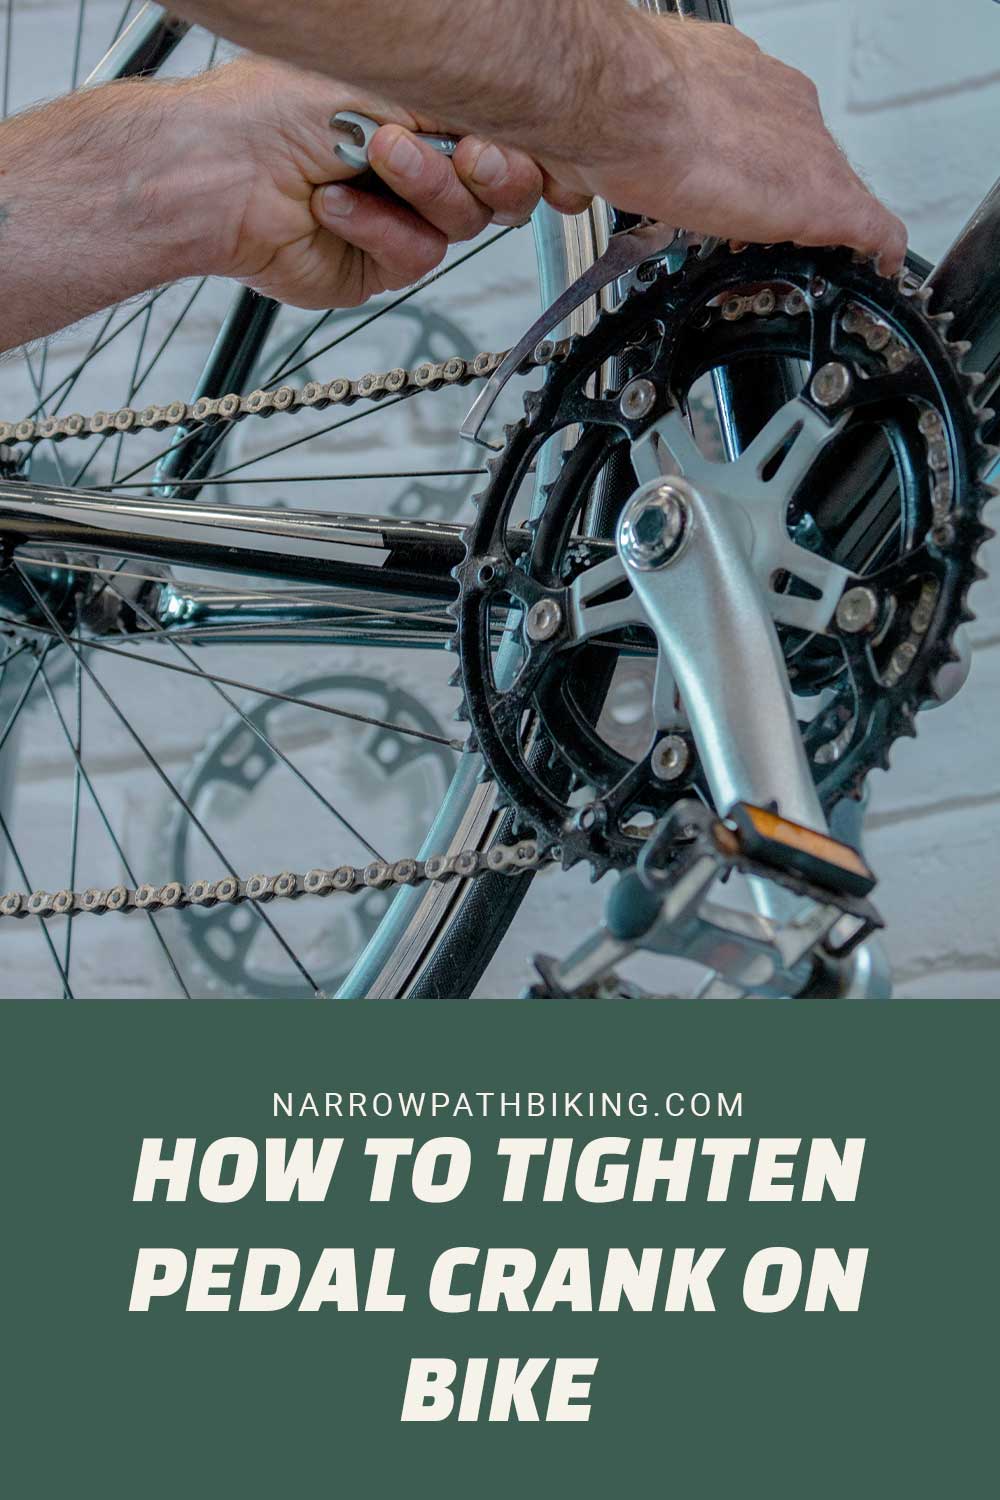
- You’re gonna want to start by flipping your bicycle upside down and balancing the weight between the handlebars and the seat.
- Then take a set of Allen wrenches. You’re going to find the socket on the pedal arm and begin loosening the pedal so that you can remove it from the socket.
- When you do this, check the thread and the bolts to make sure it’s not warm. If they’re not, you can then press the pedal back on the socket and begin tightening it again.
- Wait until you feel resistance, and then turn it in an extra 1/8″ tighter for the proper level of tightness.
Final Thoughts on How to Tighten Pedal Crank on Bike
It is key to ensure that your petals and the crank itself are tight enough to function properly. By doing this, you’re not only extending your bike’s life but also ensuring a reduced chance of any potential injuries from poor performance.