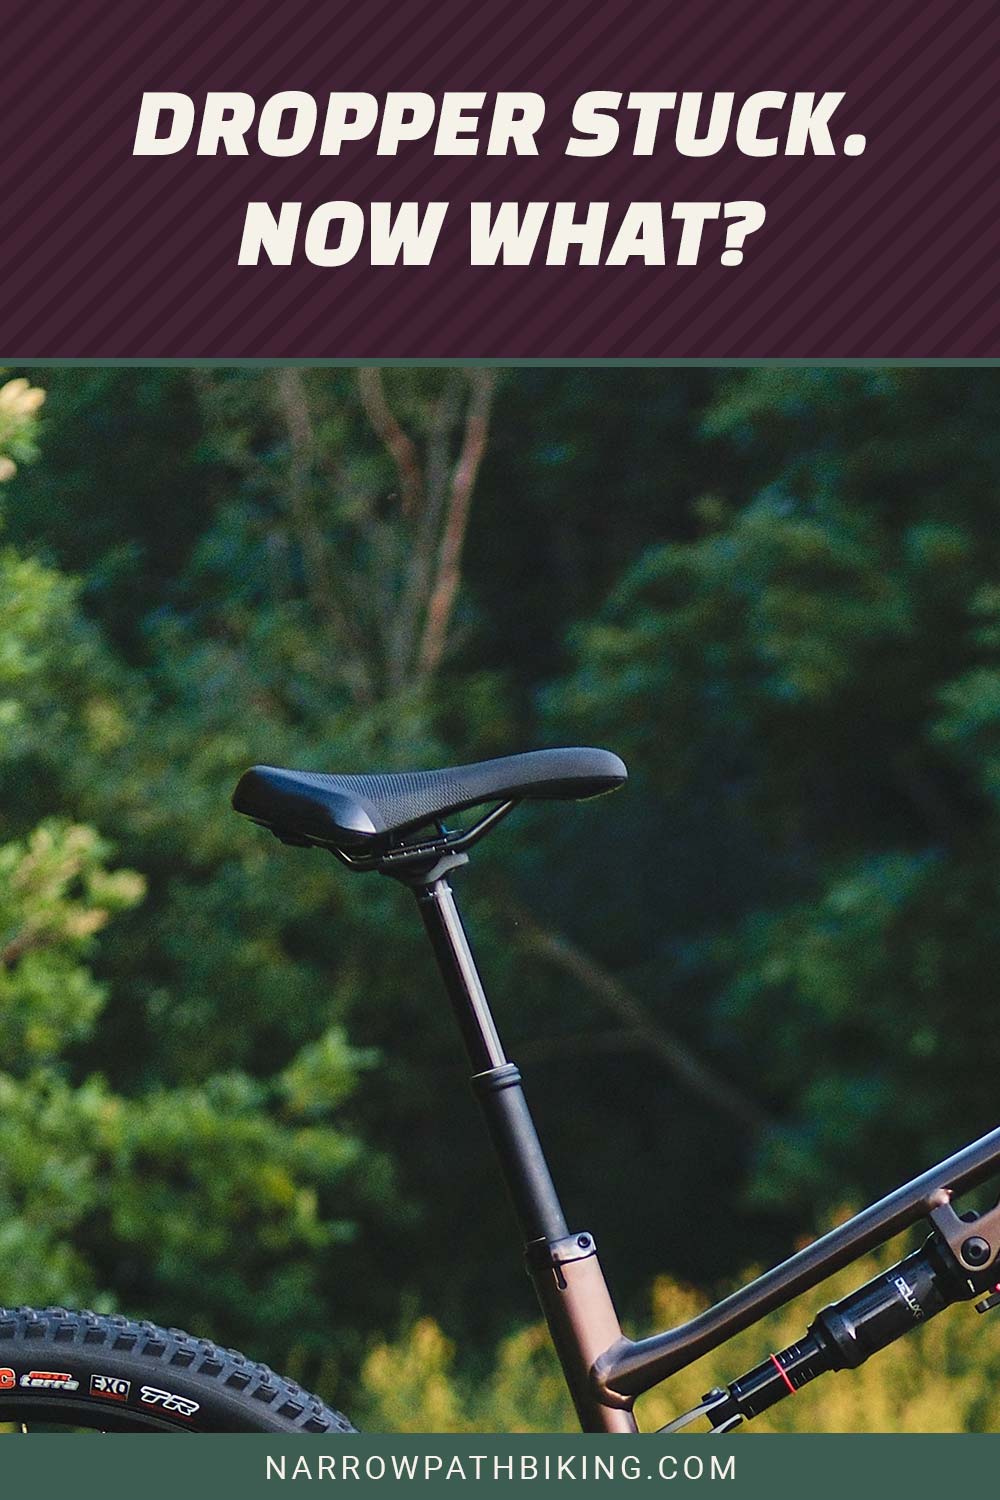
For those needing a refresher on what a dropper is, listen up. The dropper can be considered a post suspension for the seat but also maintains pressure levels for the handlebar levers (i.e., brakes).
Using an upgraded dropper, such as a Reverb, will result in a stable zero-tolerance perch from which to sit up during a ride. Along with improvements to the bicycle’s reliability, durability, and overall performance, the dropper can take a bike to the next level.
Specific actions, maintenance, and repairs can be done when a dropper gets stuck inside the post.
Why Does This Happen?
When the dropper gets stuck, it can be caused by a few different things; as with any good troubleshooting, a person should start with the basics.
The first checks and action would be to clean the bicycle from wheel to handlebars; good ole soap and water soak should otherwise provide a good starting point.
Dirt and rust can hold moving pieces together; a simple cleaning will often fix the issue. If not, then an advanced check would start with the IFP seal and lever clamp, along with checking air pressure levels which hold steady at around two hundred PSI.
Can you Fix it on Your Own?
The most common issue that causes the dropper to stick is air pressure leaks. The solution is to bleed the unit and readjust the air pressure to appropriate levels.
This can be done in these steps:
- Extend dropper, raise seat all the way up (unstick dropper from the post)
- Please take out the mounting bolt, and adjust the actuator to its highest points
- Turn the adjuster to the minimum level, fill up three-quarters of a syringe
- Push the plunger to draw away any air bubbles from inside
- Remove the bleed screw and insert a full syringe
- Force any air bubbles out of the system before sealing up everything
- Rebuild the system, all while doing checks along the way
Which Tools Will You Need?
Not many tools are required to fix a dropper stuck in the downward position. However, you can find many of these in your home, especially if soap and water cleaning solves the issue.
However, bleed kits are specifically designed for this repair/maintenance.
It comes highly recommended that you purchase one of these kits; that being said, below is a list of tools needed to perform the job:
- Allen Wrench set
- 2.5 weight suspension fluid; this is not braking fluid and cannot be substituted
- Torx Keys
- Reverb bleed syringes (come with the bleed kits)
- Paper cloth
- Degreaser
What do you Need to Pay Attention To?
Pay special attention to the 2.5-weight hydraulic fluid, which, to stress, is not the same as braking fluid. Maintain the levels of hydraulic fluid to avoid all this unnecessary repair.
Check the seals on the handlebars and any tubing or gaskets along the lines. Also, check for air pressure leaks, which so happens to be the most common issue when it comes to the dropper suspension system.
Also, pay attention to how the seat feels; simple pressure checks can help a rider avoid costly repairs. Doing so will help prevent needing to replace the mountain bike being ridden.
How to Know When the Time to Change It?
There are a few ways to test the bike’s dropper, the post, and the seat that you can do yourself. One particular sign your dropper needs attention is to find it is stuck in the downward position, and you cannot easily adjust the seat position.
The easiest way to stay ahead of repairs is to check the air pressure regularly. The check can be done by loosening the dropper and seat clamps so that the seat can easily slide up and down.
From there, squeeze the brake levers, and the seat should shoot upward into the maximum height position.
Final Thoughts on Stuck Dropper
The best way to take care of your bicycle is to maintain it daily, after every ride. Take the time to clean the entire bike, dropper and seat included.
Otherwise, go through a simple troubleshooting process when you find the dropper stuck. First, clean the bike and then diagnose the issues until you find out your system needs to be bled.
When bleeding the system, use the kits designed for dropper post maintenance/repair. The 2.5-weight hydraulic fluid, the syringes, and other tools are provided in these kits and will make this process much more manageable.

